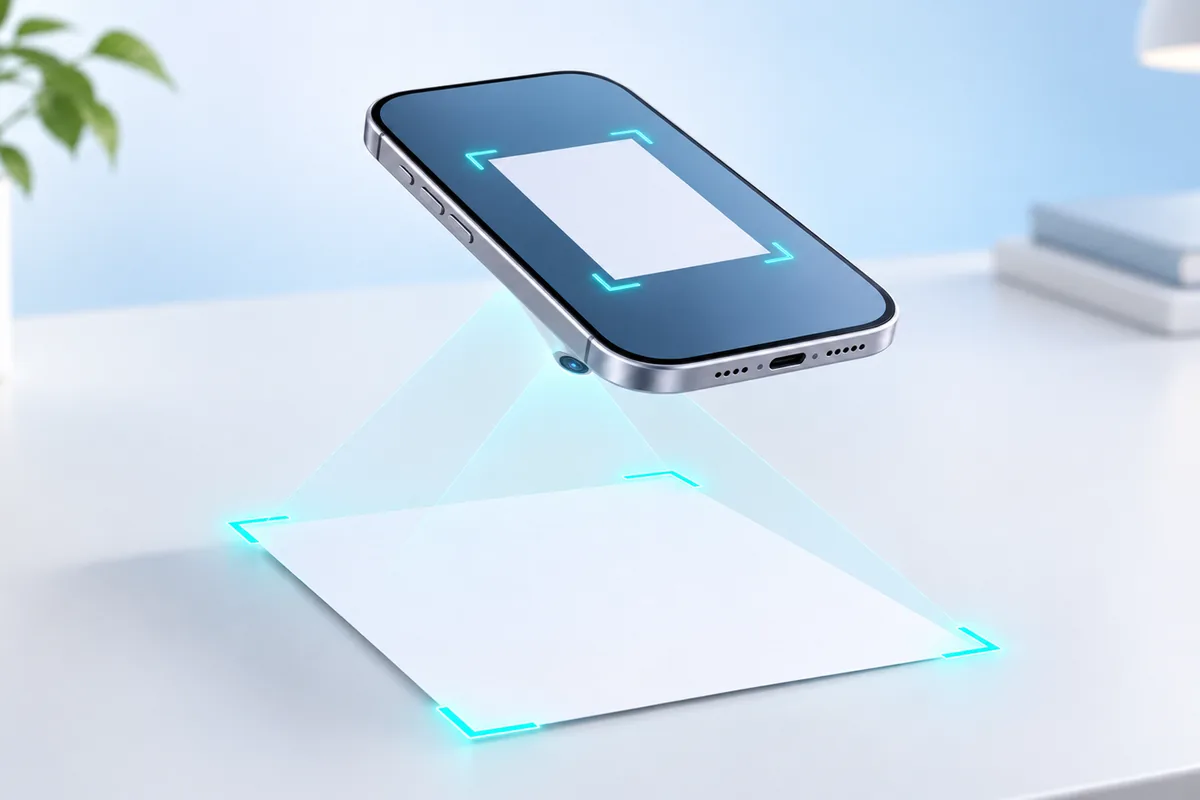
You can scan documents with your phone for free using tools already on many iPhones and Android phones. Open a built-in scanner, point your camera at the page, check the detected edges, and save the result as a PDF.
Find the Scanner Already on Your Phone
A document scanner does more than take a photo. It finds the edges of a page, straightens the image, and lets you save several pages together as one file. You usually do not need a paid scanning app for a letter, receipt, form, or set of notes.
On an iPhone, look in the Notes app or the Files app. On many Android phones, look in Google Drive. Some Android camera and file apps also have a Scan or Document mode. Names and button positions can change with software updates, so check the app’s menu if you do not see the option at once.
If your phone does not offer one of these tools, check its preinstalled camera and file apps before installing anything new. The key features to look for are page detection, corner adjustment, multiple-page capture, and PDF export. A normal camera photo can work in a pinch, but a scanner is usually easier to read and share.
Scan a Document on an iPhone
In Notes, open a note or create a new one. Tap the attachment or camera button, then choose Scan Documents. Hold your phone above the page. Notes may capture it automatically when it detects the edges; you can also use the shutter button. Check the corners, adjust them if needed, and keep the scan.
For a document you want to save directly as a file, open Files, go to the folder where you want it, tap the menu button, and choose Scan Documents. Scan each page, then save. This route is useful when you already know where the PDF should live.
Before you finish, look at every page in the preview. Make sure no corner is missing and that small text is readable. If the scan is blurry, retake that page rather than hoping the PDF will fix it. You can usually add more pages before saving, which is simpler than sending several separate files.
Scan a Document on Android
On many Android phones, Google Drive offers a built-in scanning option. Open Drive and look for the camera or scan button, sometimes found under the New button. Point the camera at your document, take the scan, and review the crop. Add more pages if you need them, then save the file as a PDF.
Android menus vary by phone and app version. Your camera may also have a Document mode that detects a page and straightens it. Before relying on that mode, check whether it saves a PDF or only an image. An image may be fine for a quick reference, but a PDF is often easier to submit or print.
Pay attention to the save location. A scan made in Drive may be stored in your Drive account, while a scan made with your phone’s camera may remain on the device. If you cannot find the result, check the app you used and search for the file name before scanning everything again.
Get Clear Text and Accurate Edges
Place the paper on a flat surface with a plain, contrasting background. Smooth out folds, move your hands away from the edges, and use bright, even light. Daylight near a window often helps, but avoid direct glare on glossy pages.
Hold your phone parallel to the paper, not at a steep angle. Keep the whole page in view with a little space around it so the scanner can detect all four sides. Tap the screen to focus if the text looks soft, and hold still until the capture finishes. If your phone casts a shadow, move the light or change your position.
Edge detection saves time, but it is not always right. Check that the crop includes page numbers, signatures, stamps, and notes near the margins. Use the scanner’s color, grayscale, or black-and-white options if available, and choose the version that keeps the text clearest. For faint handwriting or colored marks, a color scan may preserve details that a high-contrast filter loses.
Make One PDF from Multiple Pages
Scan pages in the order someone should read them. After the first capture, use Add Page or the equivalent button instead of saving immediately. Review the full set before exporting: check the order, rotate sideways pages, and retake any page that is cut off or hard to read.
Choose PDF when a form, school, or workplace asks for a document rather than photos. A single PDF keeps the pages together and is usually more convenient to attach to an email. Give it a clear name, such as “Application form” or “March receipts,” rather than leaving a generic file name.
A scan is an image of the page inside a PDF; it is not necessarily editable text. Some tools can recognize text, but recognition can make mistakes, especially with handwriting or poor lighting. If you need to change the wording instead of preserving the original page, a document editor may be a better fit. Our guide to free office suites explains those options.
Save and Find Your Scans Later
Decide where the finished PDF should go before you scan a large stack. You might keep it in a folder on your phone or in a cloud account you already use. Create simple folders for categories such as forms, receipts, and study notes, then use file names that include a subject and date when that helps.
Cloud storage can make a scan available on another device, but it may use limited account space. A long, color, multi-page scan can be larger than a short black-and-white one. If your iCloud account is getting full, our guide to freeing up iCloud storage covers ways to review what you keep.
Do not delete the paper original just because you made a scan. Some documents may still need an original signature or physical copy. For important records, open the saved PDF and confirm that every page is present before you put the paper away. A useful backup is one you can actually find and read when you need it.
Share Documents Without Exposing More Than You Need
Before sharing, open the finished PDF and inspect every page. Check for accidental pages, visible account details, or information on the back of a sheet that the recipient does not need. If a document is sensitive, confirm the recipient’s address and use the sharing method they requested.
Sharing a cloud link is not the same as attaching a file. A link may depend on access settings, and a recipient might be unable to open it. An attachment gives them the PDF itself, though email providers can limit attachment size. If you move the scan to a computer before sending it, our guide to email clients for Windows may help you choose how to handle attachments there.
After sending, check that you attached the final version, not an earlier draft or a single page. For personal documents, consider whether you need to leave extra copies in downloads, email drafts, or shared folders. You can also review iPhone privacy settings if you want to understand how apps access your information.
Quick Tips for Choosing the Right Scan
The best setting depends on what is on the page and how you plan to use it. Start with a clear scan, then check the saved PDF at a normal reading size. If you have to zoom in just to make out ordinary text, retake the page.
- Printed text: Try grayscale or black and white if the letters stay clear and the page has no important colors.
- Handwriting, stamps, or highlights: Use color when those details carry meaning.
- Several pages: Add them to one scan and check their order before saving.
- Glossy receipts: Change the angle of the light to reduce reflections, while keeping the phone level over the paper.
- Small text: Fill more of the camera view with the page, but leave enough room for accurate edge detection.
Do not rely on a filter to rescue an unreadable capture. Better light, steady hands, and a second scan usually help more. Keep the original paper until you have checked both the PDF and any submission you made with it.
Frequently Asked Questions
Can I scan documents with my phone without installing an app?
Yes. iPhones have scanning tools in Notes and Files, and many Android phones offer scanning through Google Drive or a preinstalled camera app.
Is a phone scan the same as a regular photo?
A scanner can detect page edges, straighten the result, and combine pages into a PDF. A regular photo may not offer those features.
Why does my scanned PDF look blurry?
The camera may have moved or focused on the wrong area. Try brighter, even light, hold the phone steady, and check the preview before saving.
Can I put several scanned pages into one PDF?
Yes. Use the scanner’s Add Page option before saving, then review the page order in the finished PDF.
Final Thoughts
You can scan documents with your phone without paying for a separate app. Use the scanner already available to you, take a moment to check the edges and text, and open the saved PDF before you share it.